As cryptocurrency adoption continues to grow, so does the importance of protecting digital assets. While online wallets and exchanges offer convenience, they are also common targets for cyberattacks. This is why hardware wallets have become the gold standard for crypto security. Trezor, one of the most trusted names in the industry, provides a reliable and user-friendly solution for storing cryptocurrencies safely. If you’re setting up your device for the first time, Trezor.io/Start is the official gateway to begin your journey.
This guide will walk you through everything you need to know about getting started with Trezor, from understanding the device to securing and managing your crypto assets with confidence.
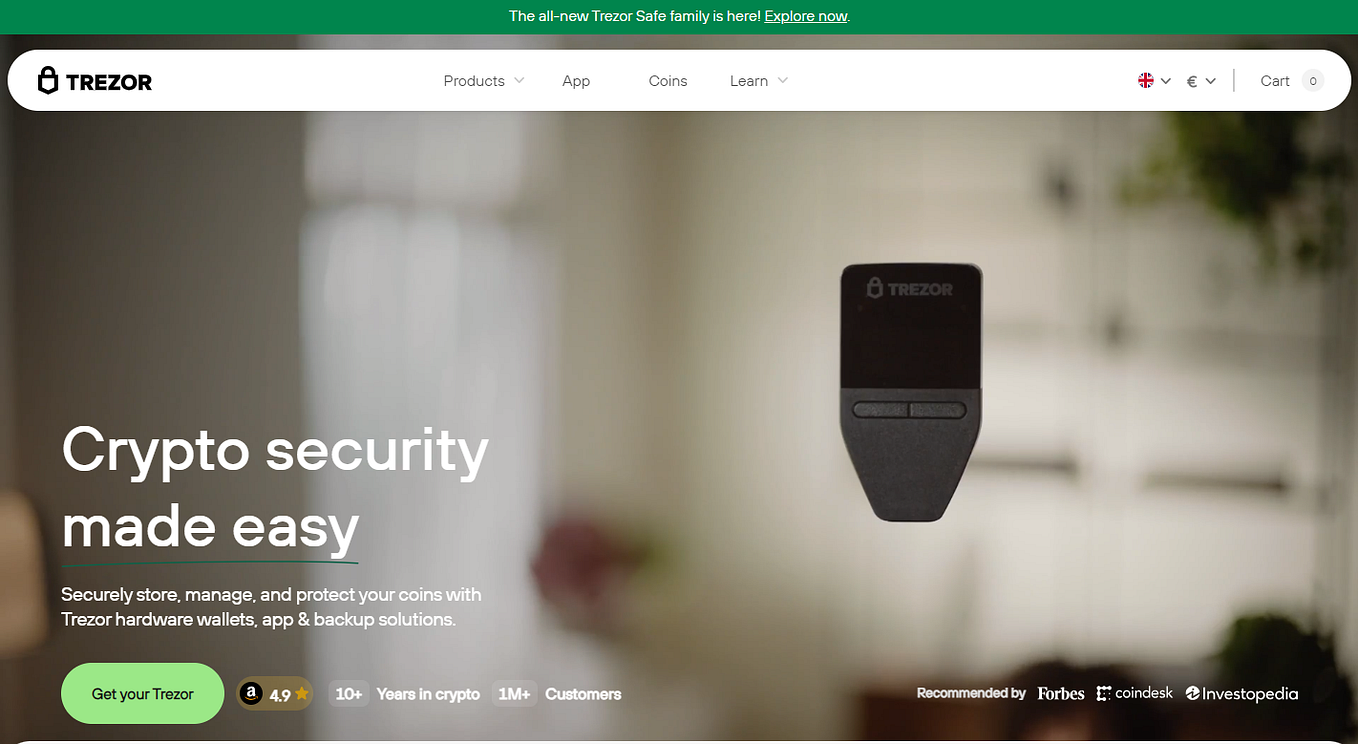
Trezor is a hardware wallet designed to keep your cryptocurrency private keys offline. Unlike software wallets that store sensitive data on internet-connected devices, Trezor isolates your private keys inside a secure physical device. This approach significantly reduces the risk of hacking, phishing attacks, malware, and unauthorized access.
Trezor supports thousands of cryptocurrencies, including Bitcoin, Ethereum, Litecoin, and many ERC-20 tokens. Whether you are a long-term investor or an active trader, Trezor offers a secure and transparent way to manage digital assets while maintaining full ownership and control.
Trezor currently offers two main hardware wallet models: Trezor Model One and Trezor Model T. Both devices are built with strong security foundations, but they cater to different user preferences.
No matter which model you choose, both provide industry-leading security and regular firmware updates.
To begin setup, visit Trezor.io/Start, the official onboarding page for Trezor wallets. This page ensures that you are downloading authentic software and following verified instructions. Avoid third-party links or unofficial downloads, as these can expose you to scams or fake wallet software.
Once on the start page, select your device model and follow the step-by-step guidance provided.
Unbox your Trezor device and connect it to your computer using the USB cable included in the package. The device will power on automatically. If this is your first time using Trezor, you will be prompted to install the latest firmware. Firmware updates are essential, as they contain security improvements and new features.
Always verify firmware installation directly on the device screen to ensure authenticity.
After installing the firmware, you’ll be asked whether you want to create a new wallet or recover an existing one. For new users, choose Create New Wallet.
During this process, Trezor will generate a recovery seed, usually consisting of 12 or 24 randomly generated words. This recovery seed is the most important part of your wallet. It acts as the master key to your funds and can be used to restore your wallet if your device is lost, stolen, or damaged.
Write the recovery words down on the recovery card provided in the box. Never store your recovery seed digitally, take screenshots, or upload it to cloud storage. Anyone with access to these words can fully control your funds.
Store the recovery phrase in a safe and private location, preferably offline and protected from fire, water, or theft. Some users choose to create multiple copies and store them in separate secure locations.
Trezor will prompt you to create a PIN code for daily access. This PIN protects your device if it falls into the wrong hands. Each incorrect attempt increases the delay before another attempt can be made, preventing brute-force attacks.
Choose a PIN that is hard to guess but easy for you to remember. Avoid common patterns or simple numbers.
Once setup is complete, you’ll access Trezor Suite, the official management interface for your wallet. Trezor Suite allows you to:
Trezor Suite is designed with privacy in mind and gives you full control without relying on centralized exchanges.
To receive crypto, select the desired asset in Trezor Suite and generate a receiving address. Always verify the address on your Trezor device screen before confirming any transaction. This step ensures that the address has not been altered by malware.
Sending crypto also requires physical confirmation on the device, adding an extra layer of protection against unauthorized transfers.
To maximize your protection, always keep your device firmware up to date, double-check transaction details, and never share your recovery seed or PIN with anyone. Trezor will never ask for your recovery words online.
Starting your hardware wallet journey at Trezor.io/Start is one of the smartest decisions you can make for crypto security. With offline key storage, transparent design, and user-friendly tools, Trezor empowers you to truly own and protect your digital assets. By following proper setup steps and security practices, you can confidently manage your cryptocurrency today and into the future.